Natural Stone Installation
BEING PREPARED WILL HELP THE INSTALLATION RUN SMOOTHLY.
The earth has been preparing your natural stone for millions of years. We want you to be prepared the day that the stone arrives to beautify your home. There are a few key things you should know before installation day.
LEAVE IT TO THE PROFESSIONALS.
Installing stone flooring is heavy, labor intensive, difficult work. We strongly recommend you call upon a reliable, seasoned, dedicated professional to install your natural stone floor. That way you can be assured of a beautiful, efficient, and correct installation.
PREPARE THE SUBFLOOR.
As with most flooring products, the first step is to prepare the substrate on which the tile will be laid. With cement subfloors, a crack isolation membrane should be used. This spreads the movement, of the cracks in the concrete, over a wider area. So instead of the crack transferring up through the thinset and cracking the tile, it will just separate at the grout joints. If this occurs, the grout can simply be touched up. With raised wood foundations an uncoupling membrane should be used. This absorbs any movement in the substrate and prevents that movement from transferring up to the tile. Uncoupling membranes can also be used over concrete if more tile protection is preferred.
YOUR FLOOR WILL NOW COME TO LIFE.
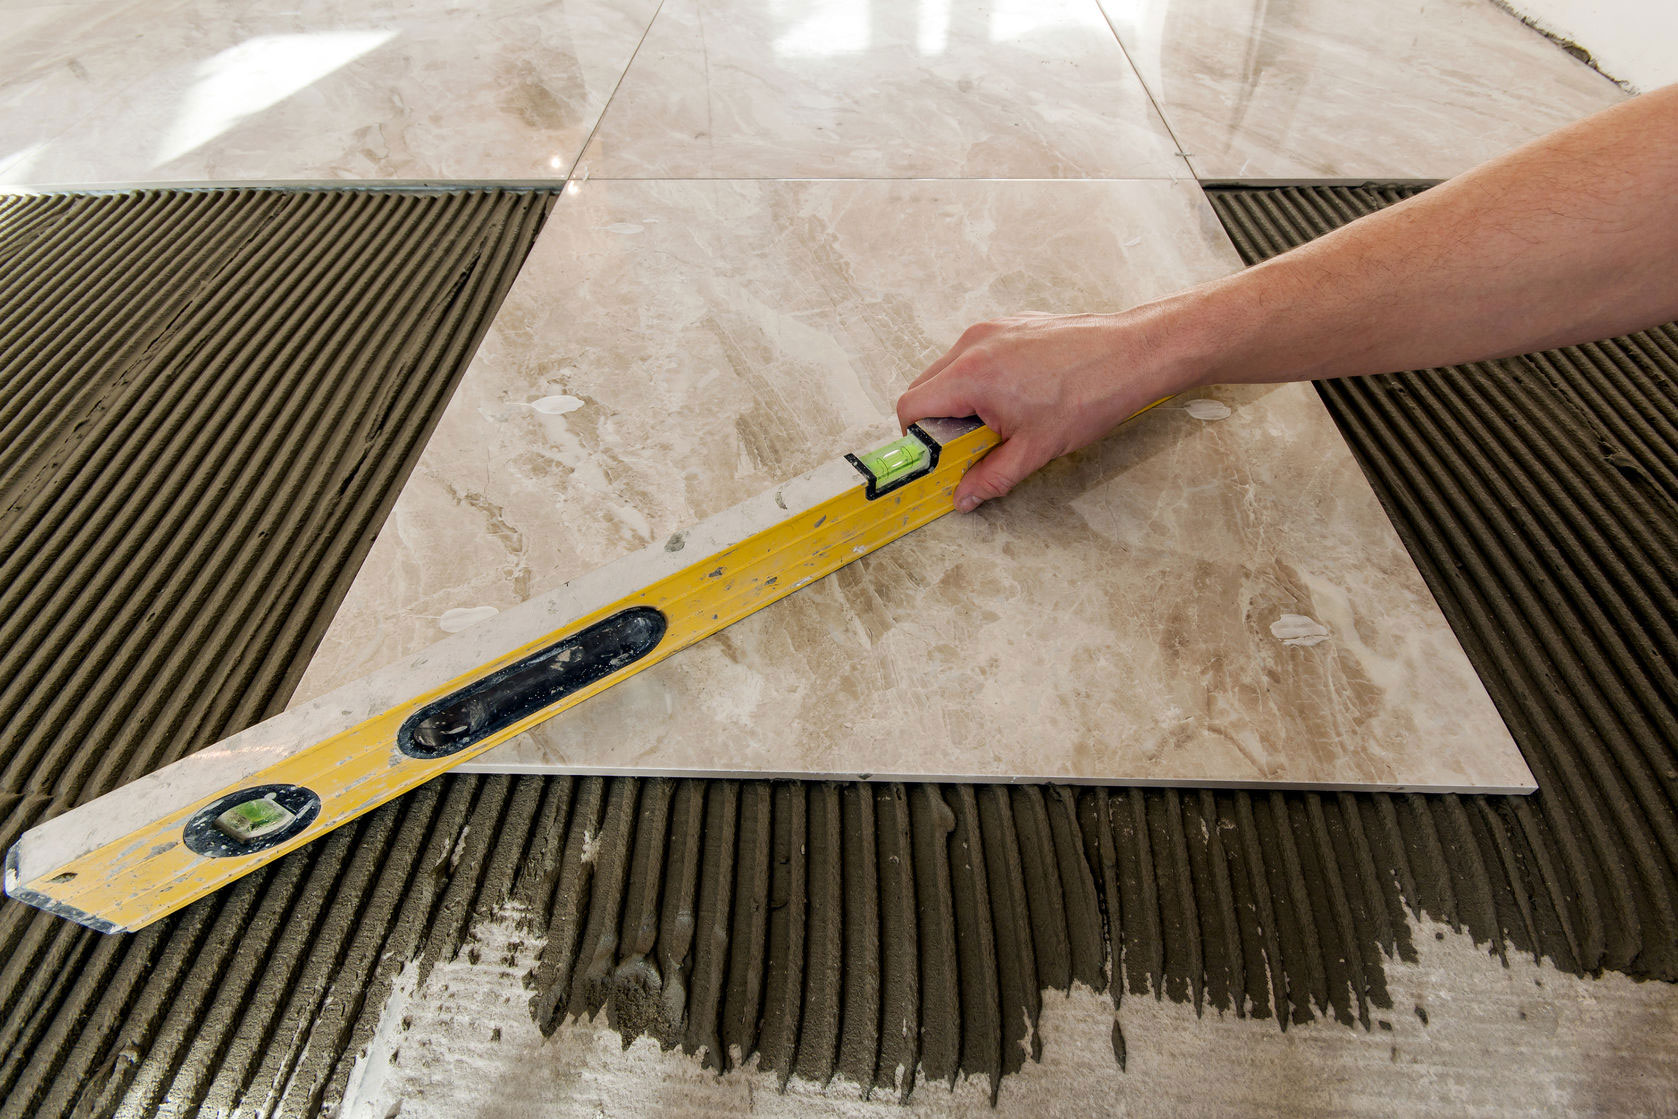
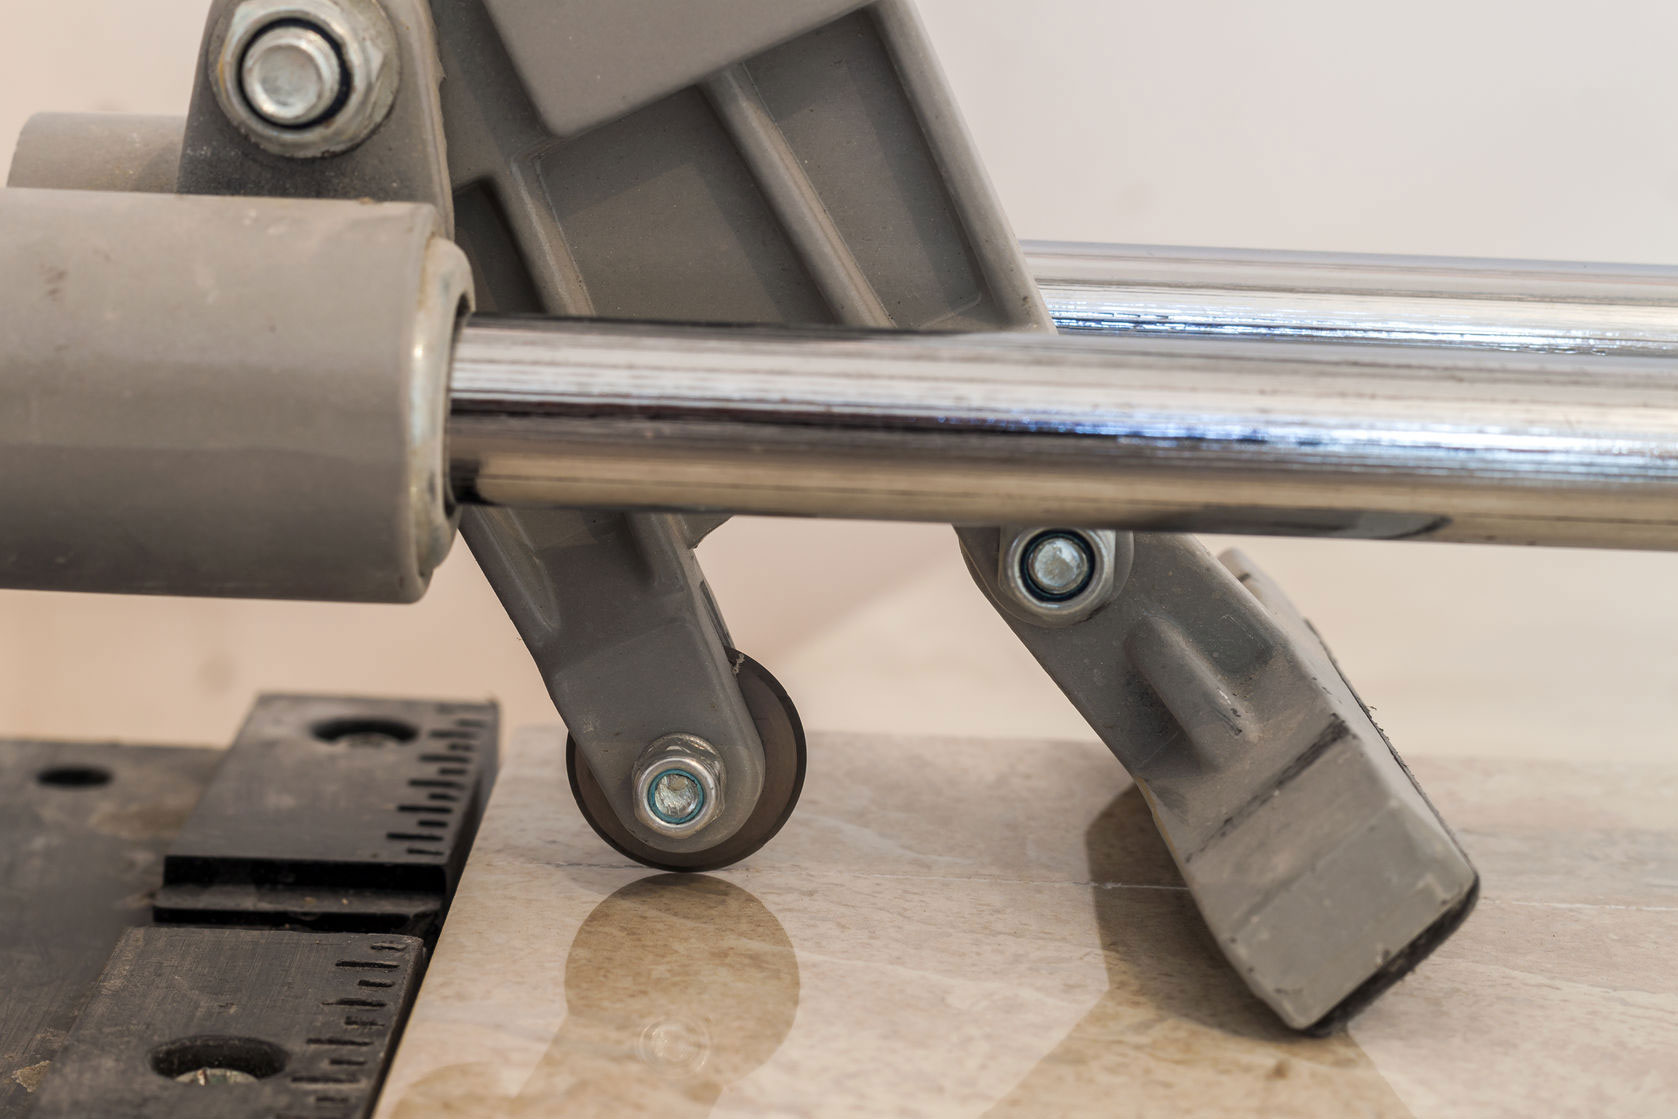
The installer will measure the area and snap chalk lines for an accurate layout. This will help to determine which pieces of tile will need to be cut to fit the area. Tiles that need to be cut are measured and marked. The installer then uses a wet saw with a diamond blade to cut through the stone tile. Once the layout has been determined, the installer can begin setting the tile. Thinset mortar is applied to the surface with a notched or grooved trowel. The tile is then placed into the thinset and pressed firmly into place.
Stone tile is typically installed with narrow grout joints, so the tiles are laid very close to each other. If it is a large tiled area, installers may use plastic tile wedges or spacers to maintain consistent spacing between each tile. The installer may back butter the back of the tile with thinset mortar which will strengthen the bond between the tile and mortar already laid on the substrate. As the installers move along setting the tile, they continually check to make sure the newly tiled area is as level as possible.
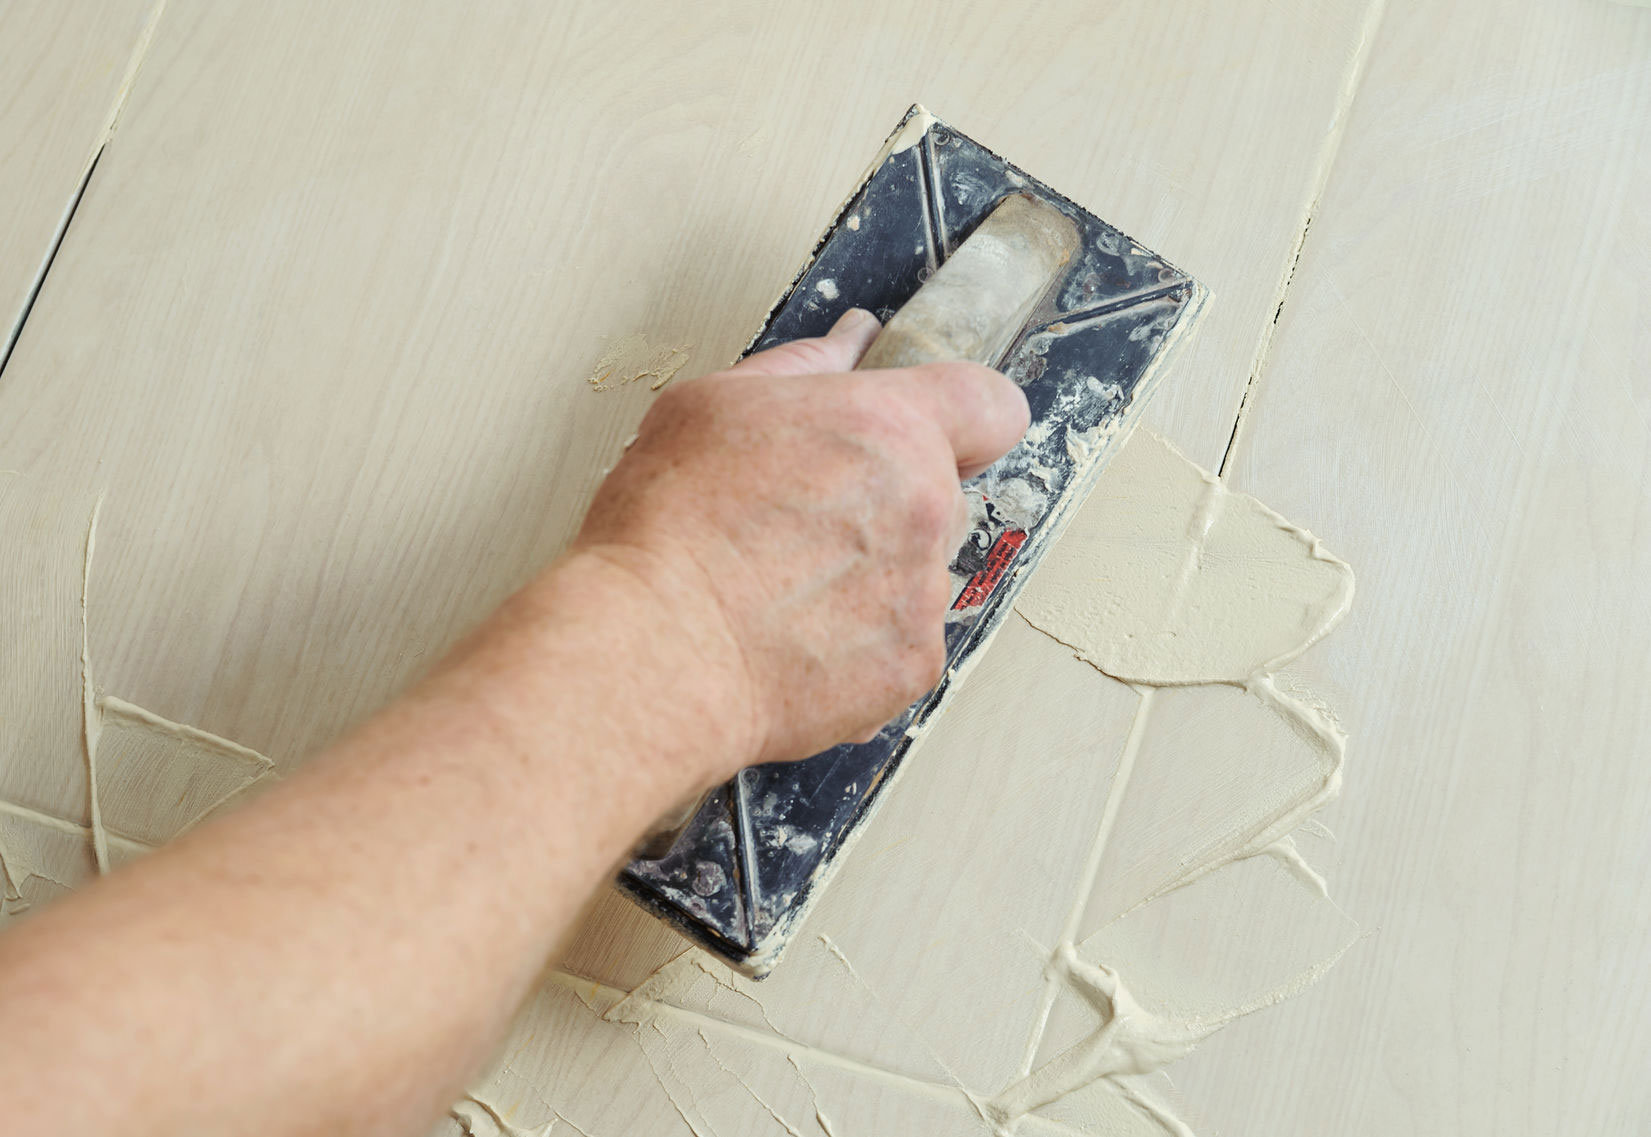
After all of the tiles are set and the thinset mortar has fully cured, the installer fills the joints between the tiles with grout. Unsanded grout is most commonly used in natural stone installations. A sponge is then used to remove excess grout from the surface of the tile.
WHAT TO DO BEFORE INSTALLATION DAY.
Remove all furniture and other objects from the area where the installation will take place. Be aware that the area of installation must be climate controlled. Indoor humidity should be maintained between 45-65%. Please consider how your old flooring will be taken up and disposed of. Remove all old floor covering at least one day prior to installation of your new floors. If removing old carpet, please leave tack strips in place and pull the staples out of the floor from the original pad. Prepare your existing subfloor or put in a new subfloor if needed. Make sure the subfloor is as clean and level as possible.
WHAT TO DO ON INSTALLATION DAY.
Be prepared to be home on the day of your installation. Your installers will use a variety of tools and techniques that can make the work area hazardous, so make sure that children and pets are kept out of the work area on installation day. In some cases, moldings, and baseboards need to be removed for installation. We recommend that prior to the completion of the installation, you do a walk-through with the chief installer. This will give you the opportunity to ask any questions and to be clear on any final details.
WHAT TO DO AFTER INSTALLATION DAY.
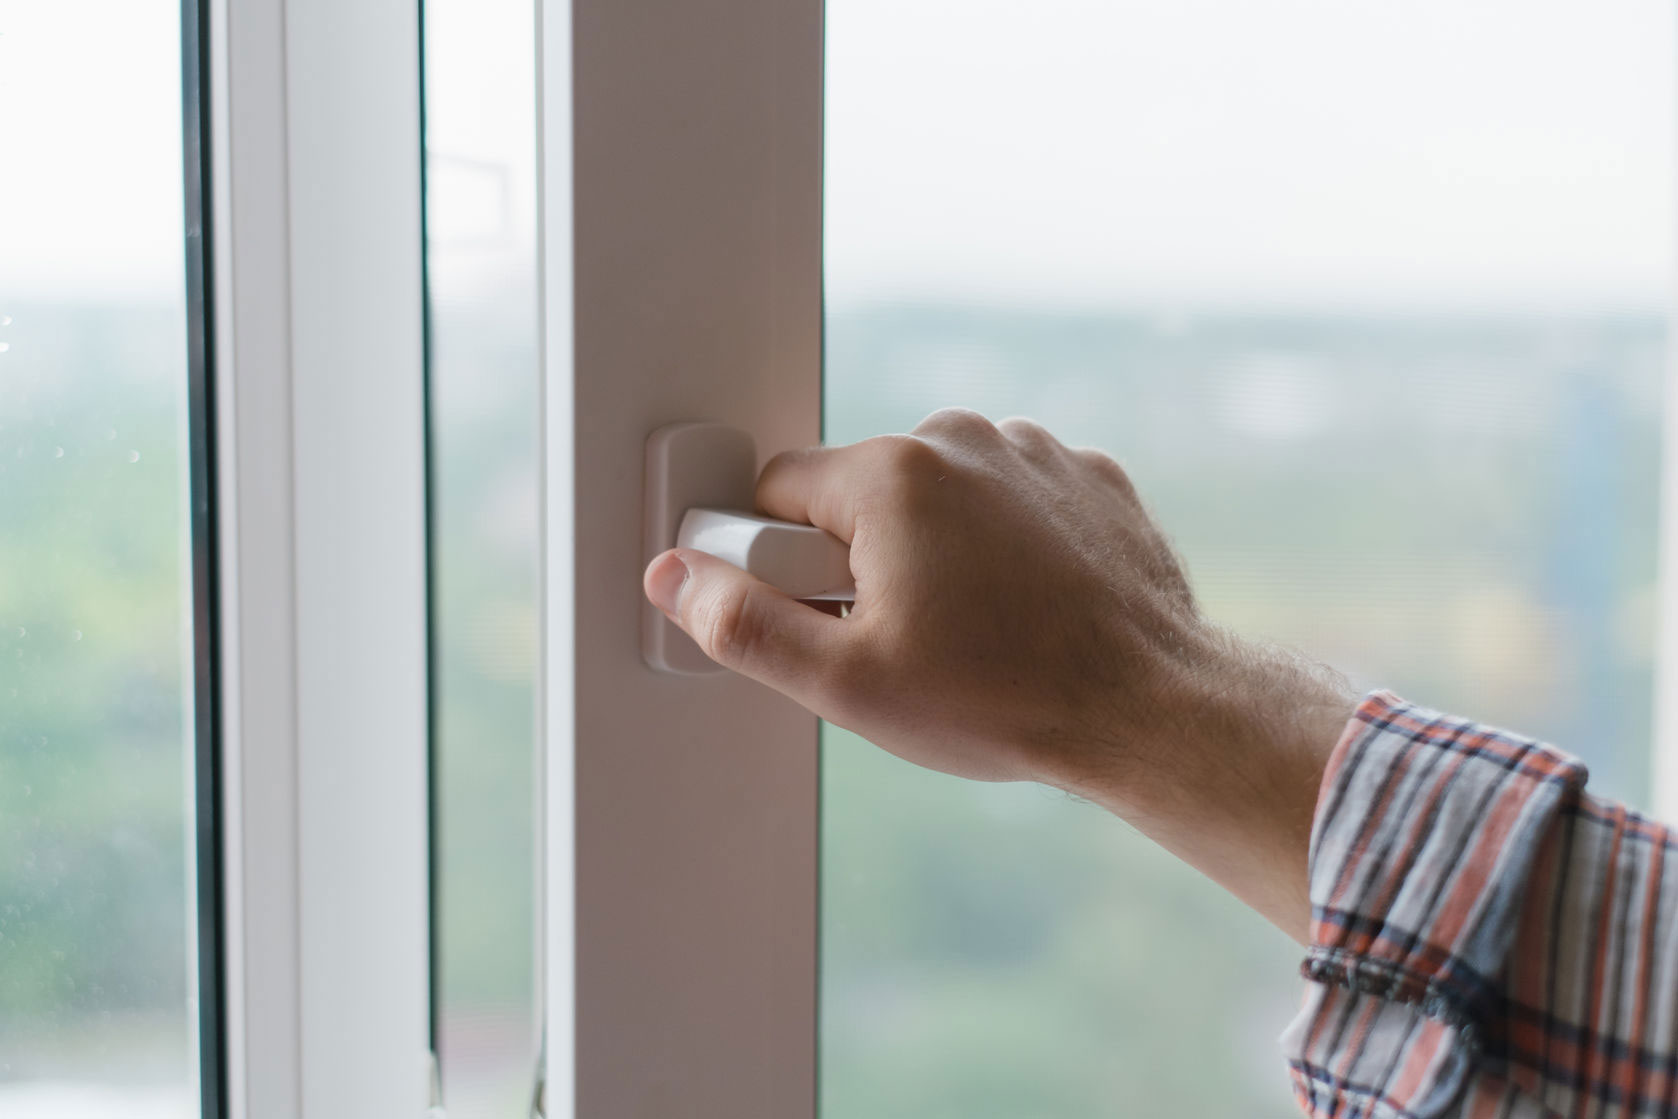
Good ventilation should be established for 48-72 hours after installation. Painted baseboards, woodwork, and paint may need retouching after the installation is complete. If necessary, this will be your responsibility. When your new floor is installed, there is always the possibility that the doors may not clear the new floor and swing freely. You may need to arrange for a qualified carpenter to help rehang or shave down your doors.